
My friend Amy (@amyburke02) and I went to RA! Sushi to learn how to roll our own sushi. It was a great time. I could have taken a million more photos with better, even more detailed steps, but these will give you a glimpse into the art of rolling sushi. The manager welcomed our group of 20 guests. We were all set up with a rolling mat, cutting board, wet dishcloth, bowl of water and the ingredients for sushi. Sushi originated in China. The cured and salted fish was pressed down between two layers of rice with heavy stones. The rice was part of the preservation process. The rice was discarded and the salted fish remained. Realizing the rice was too precious to throw away, sushi was born and the fish and rice stayed together.

Chef Panda Bear, our nickname, came and taught us how to make nigiri first.

Roll the rice gently into a ping-pong sized shape. Be careful not to press too hard, but roll between both hands for uniformity. He did this in two seconds.
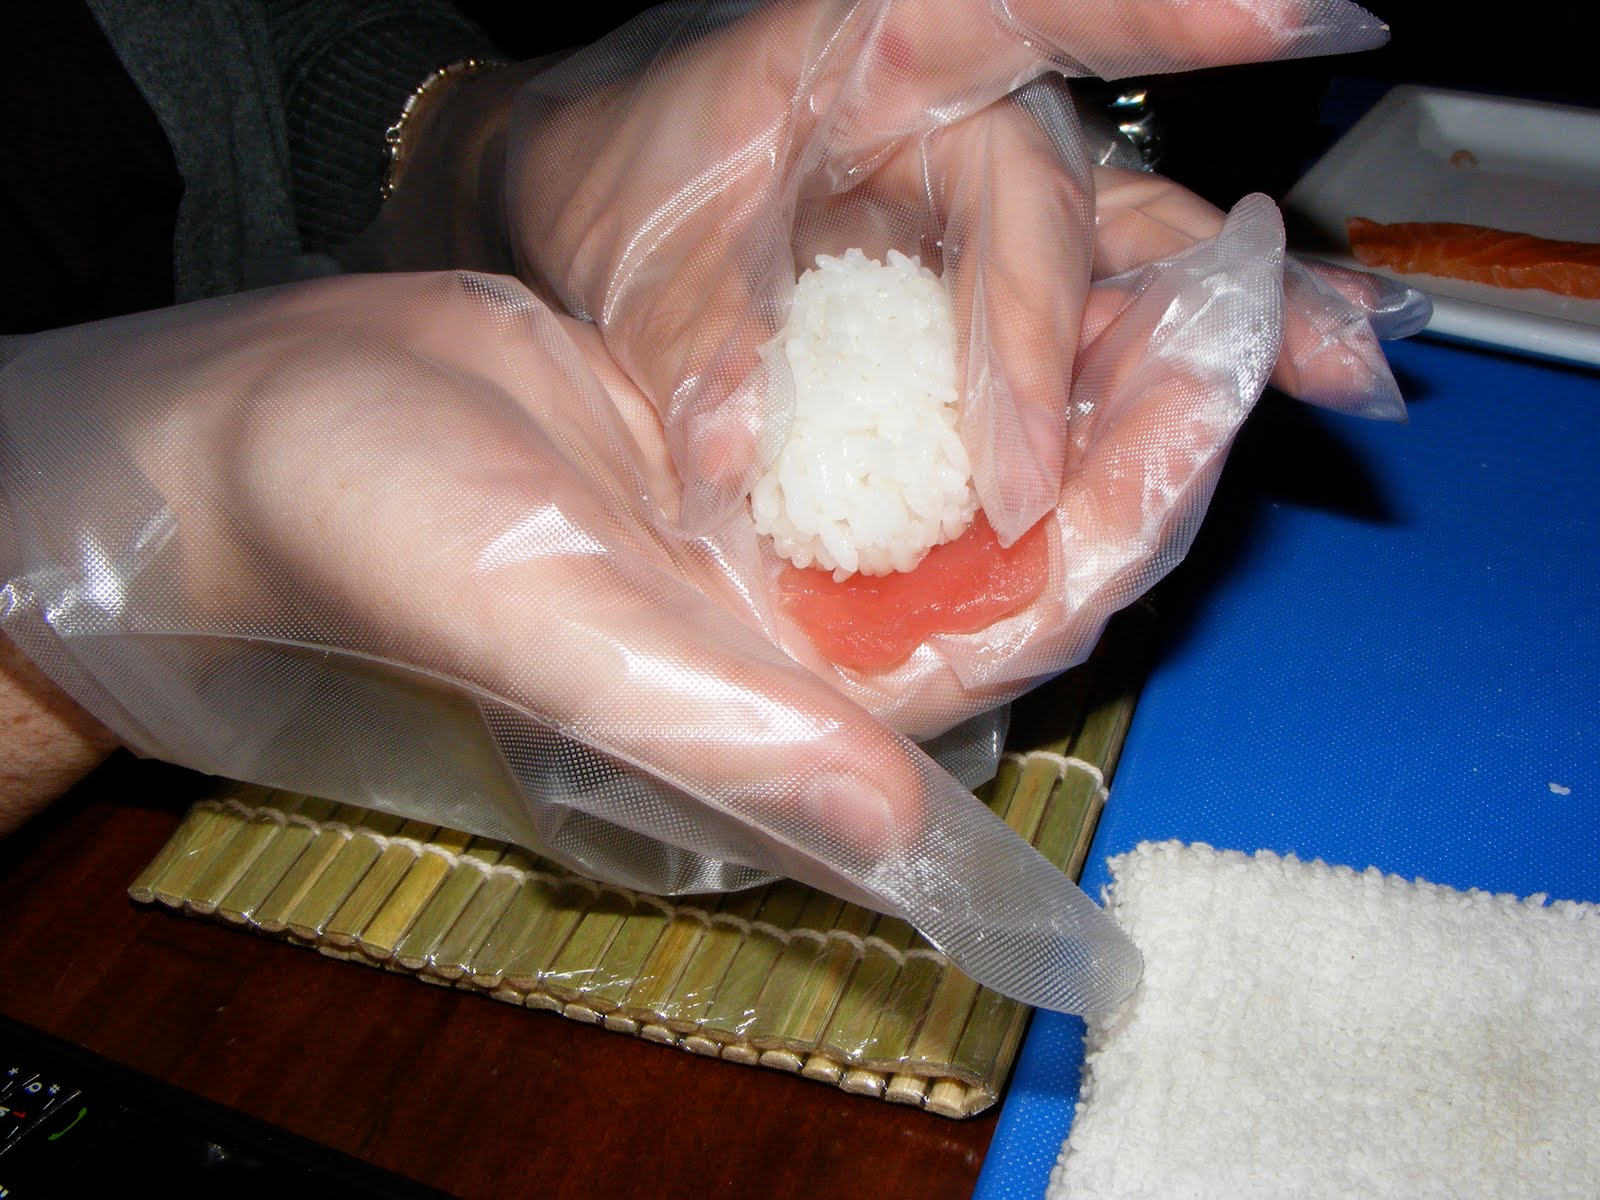
Place the tuna across your fingers. Dip your index finger and pinkie finger up to cradle the ball of rice. Press the sides of the rice, and top of the rice to form a little brick of rice that will be the base of the nigiri. You can go back and forth with this process until it has a nice shape.

Gently roll your fingers over so the fish is pressed into the rice and it flips over.

Flipped over fish.

From the top, press down on each side, kind of sliding your fingers gently over the fish, and then use the same motion on the ends of the fish.

And voila! Nigiri. You can see my Salmon attempt was way better than my poor Tuna brick. I used too much rice for the tuna. It was more of a golf ball than a ping pong.

Next we moved to the California Roll. First, wet your cutting board so the seaweed doesn't stick. The rice ball needs to be the size of a baseball in this case. Amy's in the distance was too small and she added rice later.

This was hard to capture, but the motion of moving the rice to the top part of the seaweed was a quick movement using both hands, pinching and pulling the rice to the right to form this rice bar shape.
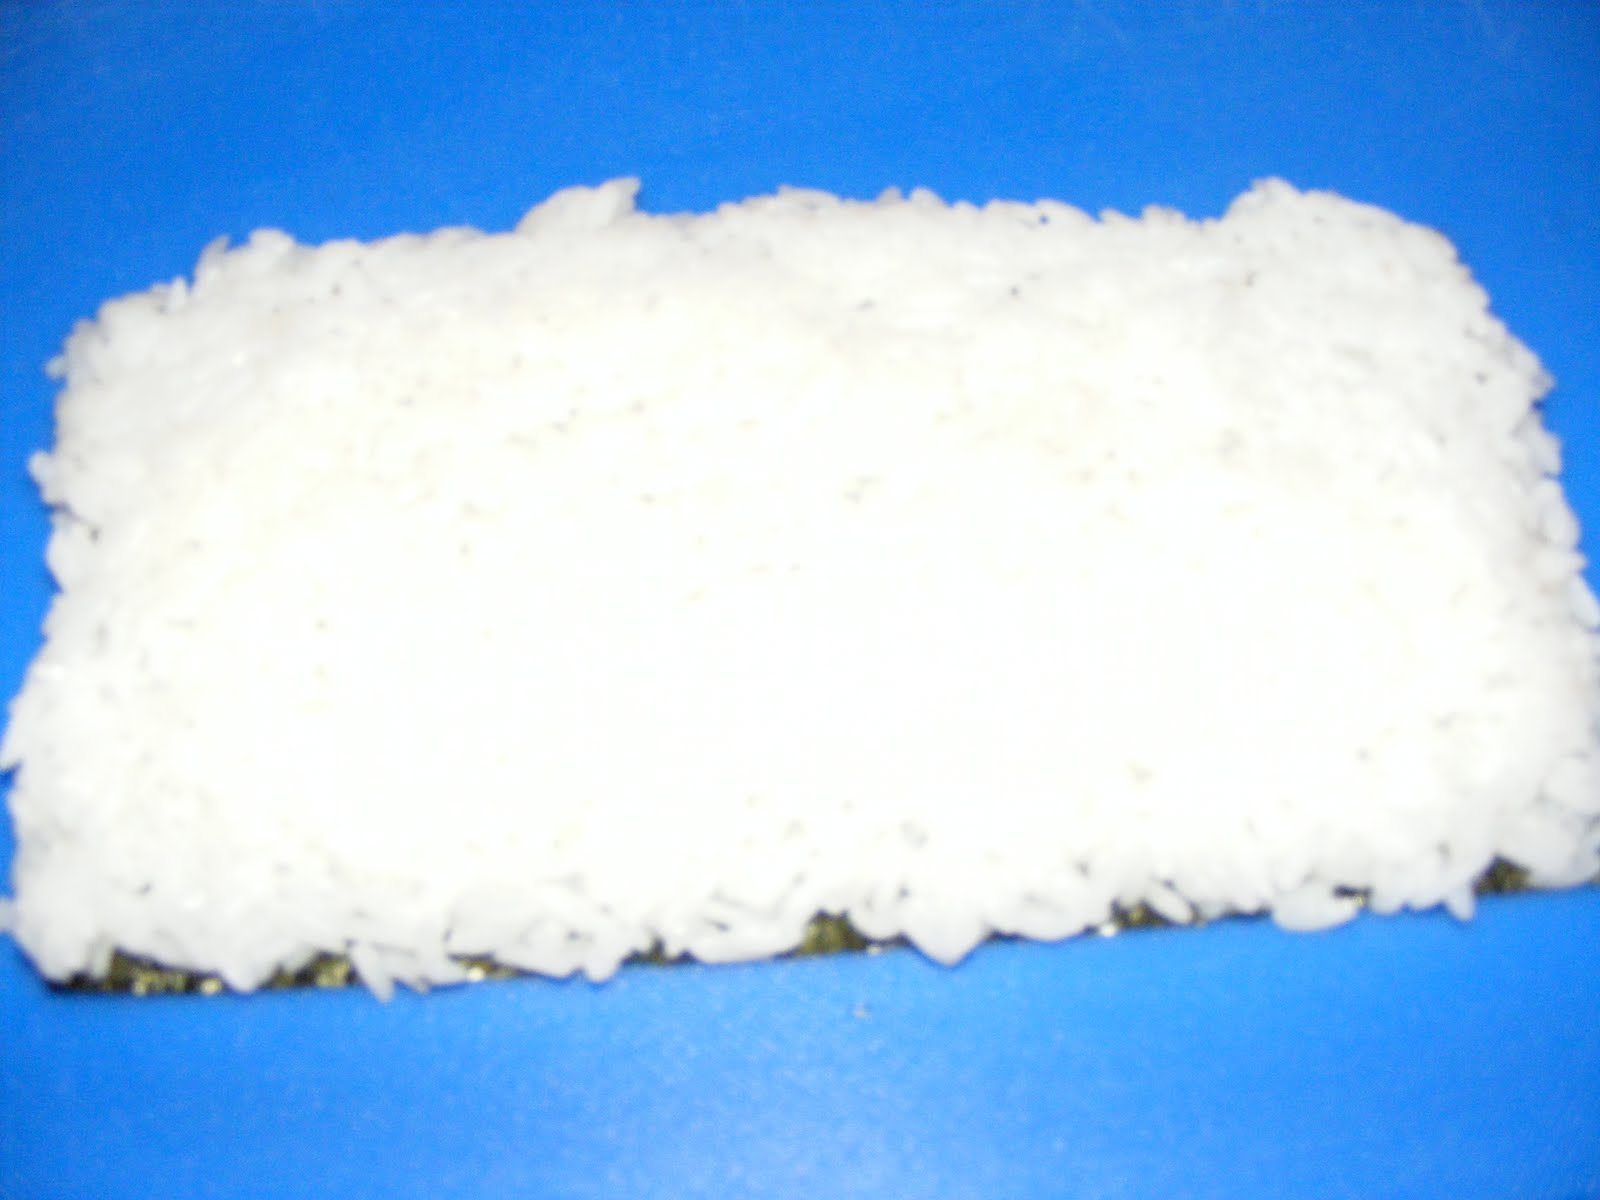
Then, using both hands from the top of your rice bar, rake the rice gently with your finger tips over the seaweed. You need to leave a little extra rice at the top that forms a lip over the seaweed.

Flip the seaweed over so that the rice lip is still at the top. The rice on the side needed to be tucked back in.

Next add one cucumber in the center of the seaweed and two pieces of avocado below the cucumber.

Grab a golf ball sized amount of the crab mixture. The manager took this photo with my lens cap in it. Love it!

We are making sushi!

Crab meat. After this step is finished you take your thumbs and lift the roll from the bottom over the crab, then roll your fingers over the rice and gently squeeze to get the roll started and sealed. The rice lip acts as a sealer.
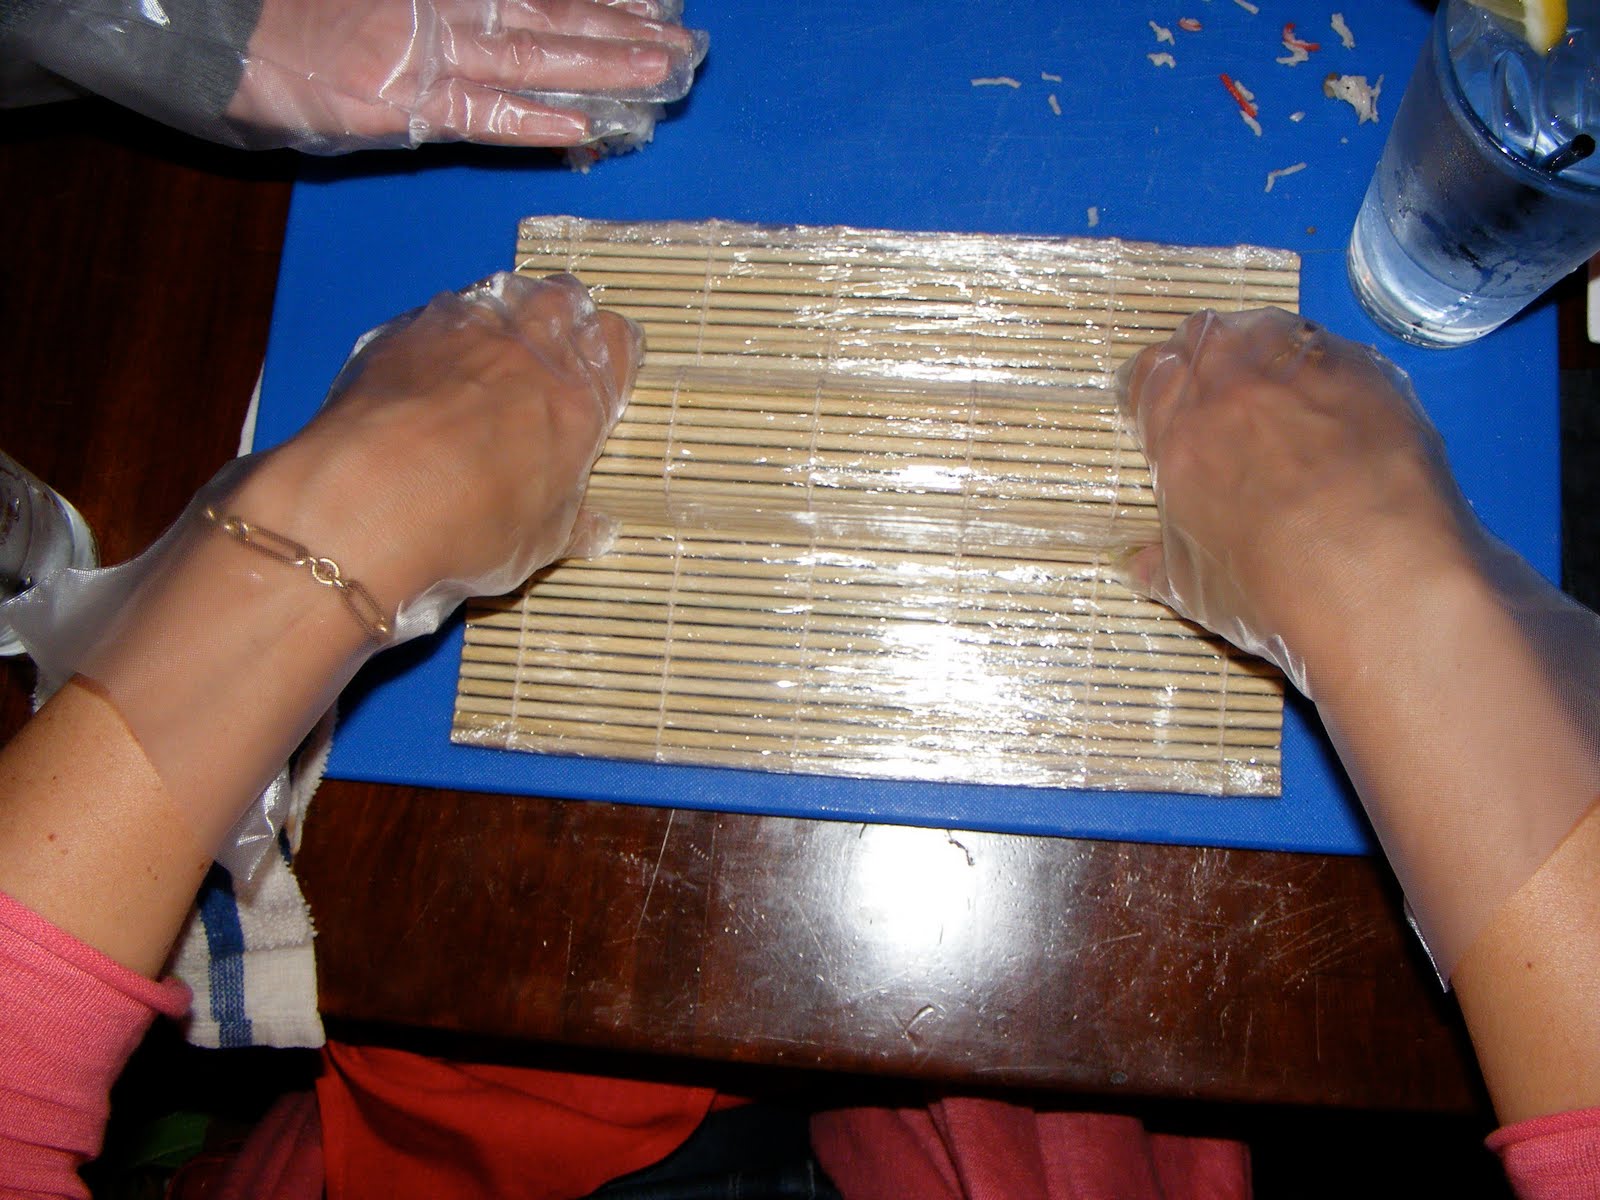
Then you take the mat and I swear I heard the Chef say "disperse the power" but really you need to press equally on the whole roll. That's dispersing the power, don't you think?

California Roll

Take your bad ass California rolls and have the chef cut them to look like this below. We were so proud!

That's my roll.

The chef was showing off and made a Cherry Blossom presentation with his California Roll.

The Raven's game was on in the distance. It was a perfect evening.

Thanks to RA! and Chef for teaching us the great skill of making sushi. Thank you Amy for such a fun night. I love that we can Tweet and talk at the same time!

2 comments:
Hoo-RA! Looks like lots of fun. We were over at Little Havana swilling mojitos and watching the game.
Do you deliver? Yes you did at that sushi 1o1.
What fun!
pve
Post a Comment